Her room is painted what I call light purple, but what Lowe's calls 'Vortex Violet'. Her walls still has the same paint job they had when she was born- light purple walls with a white picket fence, flowers, and a few lady bugs and butterflies on one wall. I know that she is almost 8 now (and it's her room), but I am not ready to let go of the sweet mural her Aunt K.J. and I gave it when we were both about 8 months pregnant. So I made her pick a set that had purple in it. She chose a black and white zebra print with a purple border (it also reverses to solid purple). It is pretty dang cute.
This of course meant that we also needed new curtains, so I snagged a cute sheer zebra panel curtain at Hobby Lobby (using a 40% off coupon of course!). Then it promptly went into the linen closet until I got a minute to hang it. The previous curtains were also sheer so I had used a purple panel behind the sheer curtain to keep out some of the light. About a month or so after buying the zebra stuff, I found a white curtain rod at Hobby Lobby (don't you just love that store?!) that had round zebra-print finials (balls, I call 'em) on each end. I snatched it up, again using that handy dandy 40% off coupon.
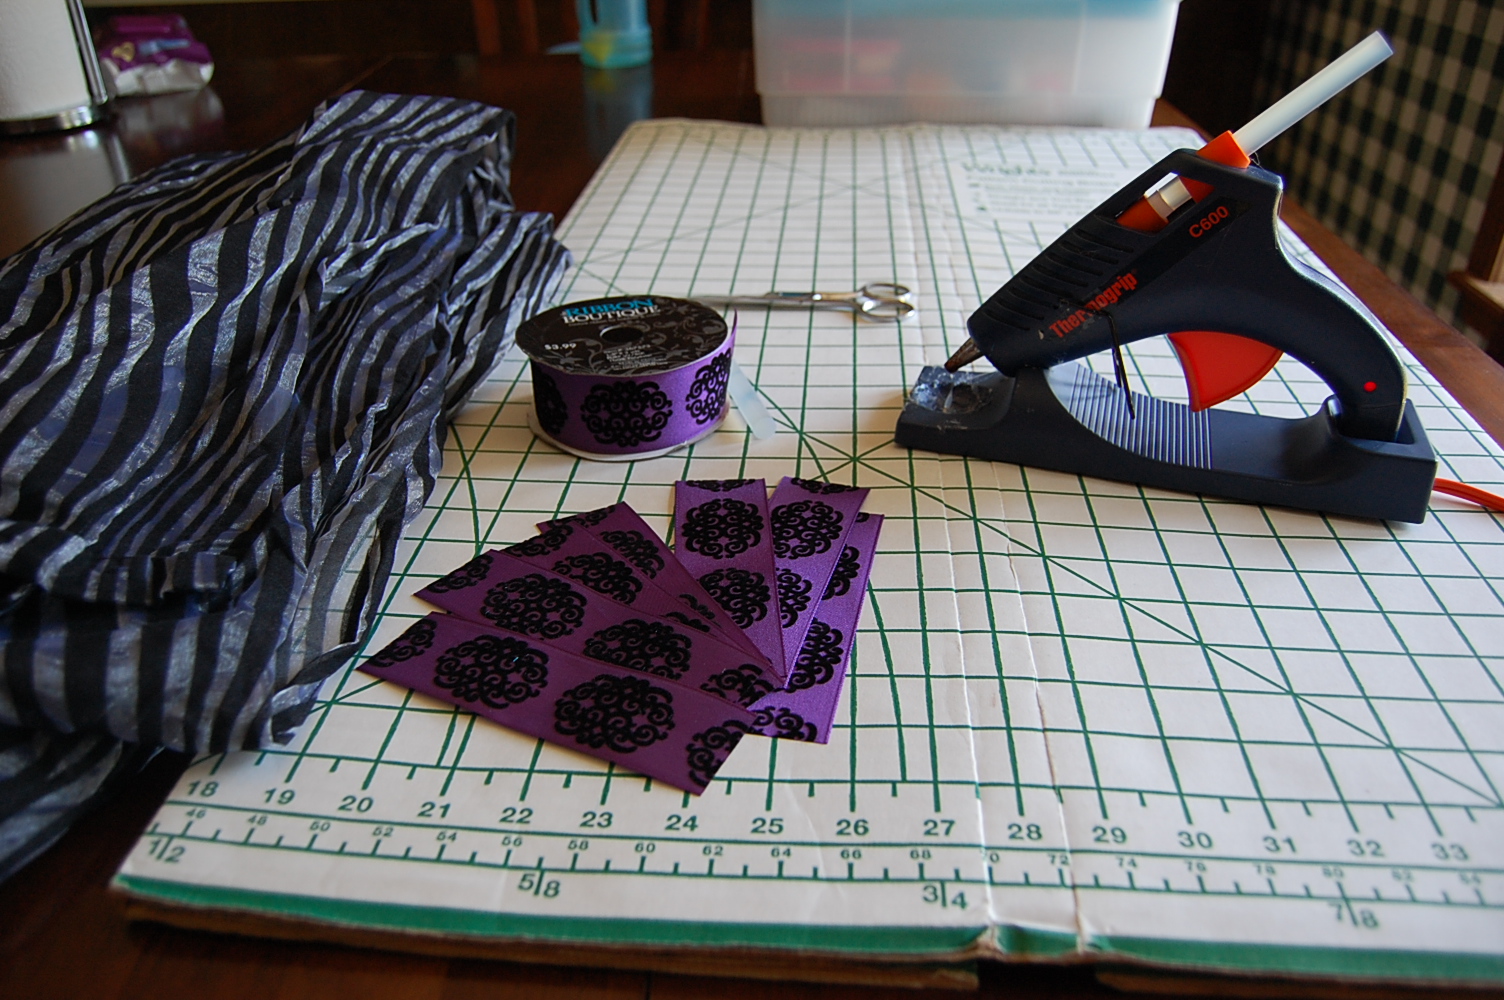
Now here's where the crafty comes into play. I realized my purple panel was tab top and my zebra panel was regular, with the pocket for the rod. So I did what any crafter (who is a not-so-great seamstress) would do....I dug through my ribbon stash and found some super-cute ribbon, got out the glue gun, and went to work making some 'custom' tabs.
I cut 7 pieces of ribbon into equal lengths (7 because that is how many tabs my purple panel had), making them twice the length I wanted them to be when finished. I wanted one whole design to show on the front of the tab, so I was sure to cut them so that it was where I wanted it once they were folded in half.
I then glued the ends of each piece together.


After I finished gluing all the 'tabs', I then decided on my spacing. I put a bead of glue on the bottom edge of the tabs and pressed them in place on the back of the panel. Tip: use a thimble on the end of your finger to protect it if using hot glue. I learned this the hard way, and yes I shoulda' known better!

Ta-da!! The finished product:


Pretty easy! Now you also could sew the ends of the ribbons together and then sew each tab onto the curtain instead of using hot glue, or you could even use fabric glue. I used hot glue because it's super easy (but hot!) to work with, and if you mess up the glue peels right off and you're good! Any of these methods will give you the same end result. Let me know what you think!

No comments:
Post a Comment